Eco-dye walk-through
Eco-dye walk-through
diy old textile party, good vibes only


Here it is, 20 of you just signed up for this newsletter as part of your civic responsibility, now you all win.
Eco-dyeing, in essence, is the preparation and colouration of materials using predominantly natural items. The technique can be used to accurately and beautifully dye wools, linen, cotton etc en masse, but it’s also suitable for a freestyle outfit with some debris at home. I’ve watched many informative videos of anally-retentive practicioners giving strict rules but (as always) I am winging my way through this because honestly it’s not as complicated as some pros would have you believe. I’ll be writing a piece on the over-professionalisation of hobbies soon.
I’ve been doing it ever since I reincarnated some charity shop tshirts to raise funds for my Fermental Health research trip to USA in October 2019. Dead easy, no special equipment needed, just some slow time on two consecutive days. It’s a great way to jazz up old or stained garms and use some rowdy materials. Add a screen print on some patches afterwardsif you’re feeling particularly wiggy.
I wanted to do a test run on some scraps using a natural mordant (fixer) as I’m out in the wilderness near Vilnius and will not be buying potassium alum anytime soon. My friend and textile inspo May Hands suggested using blackberry for plant-based fabric like cotton.
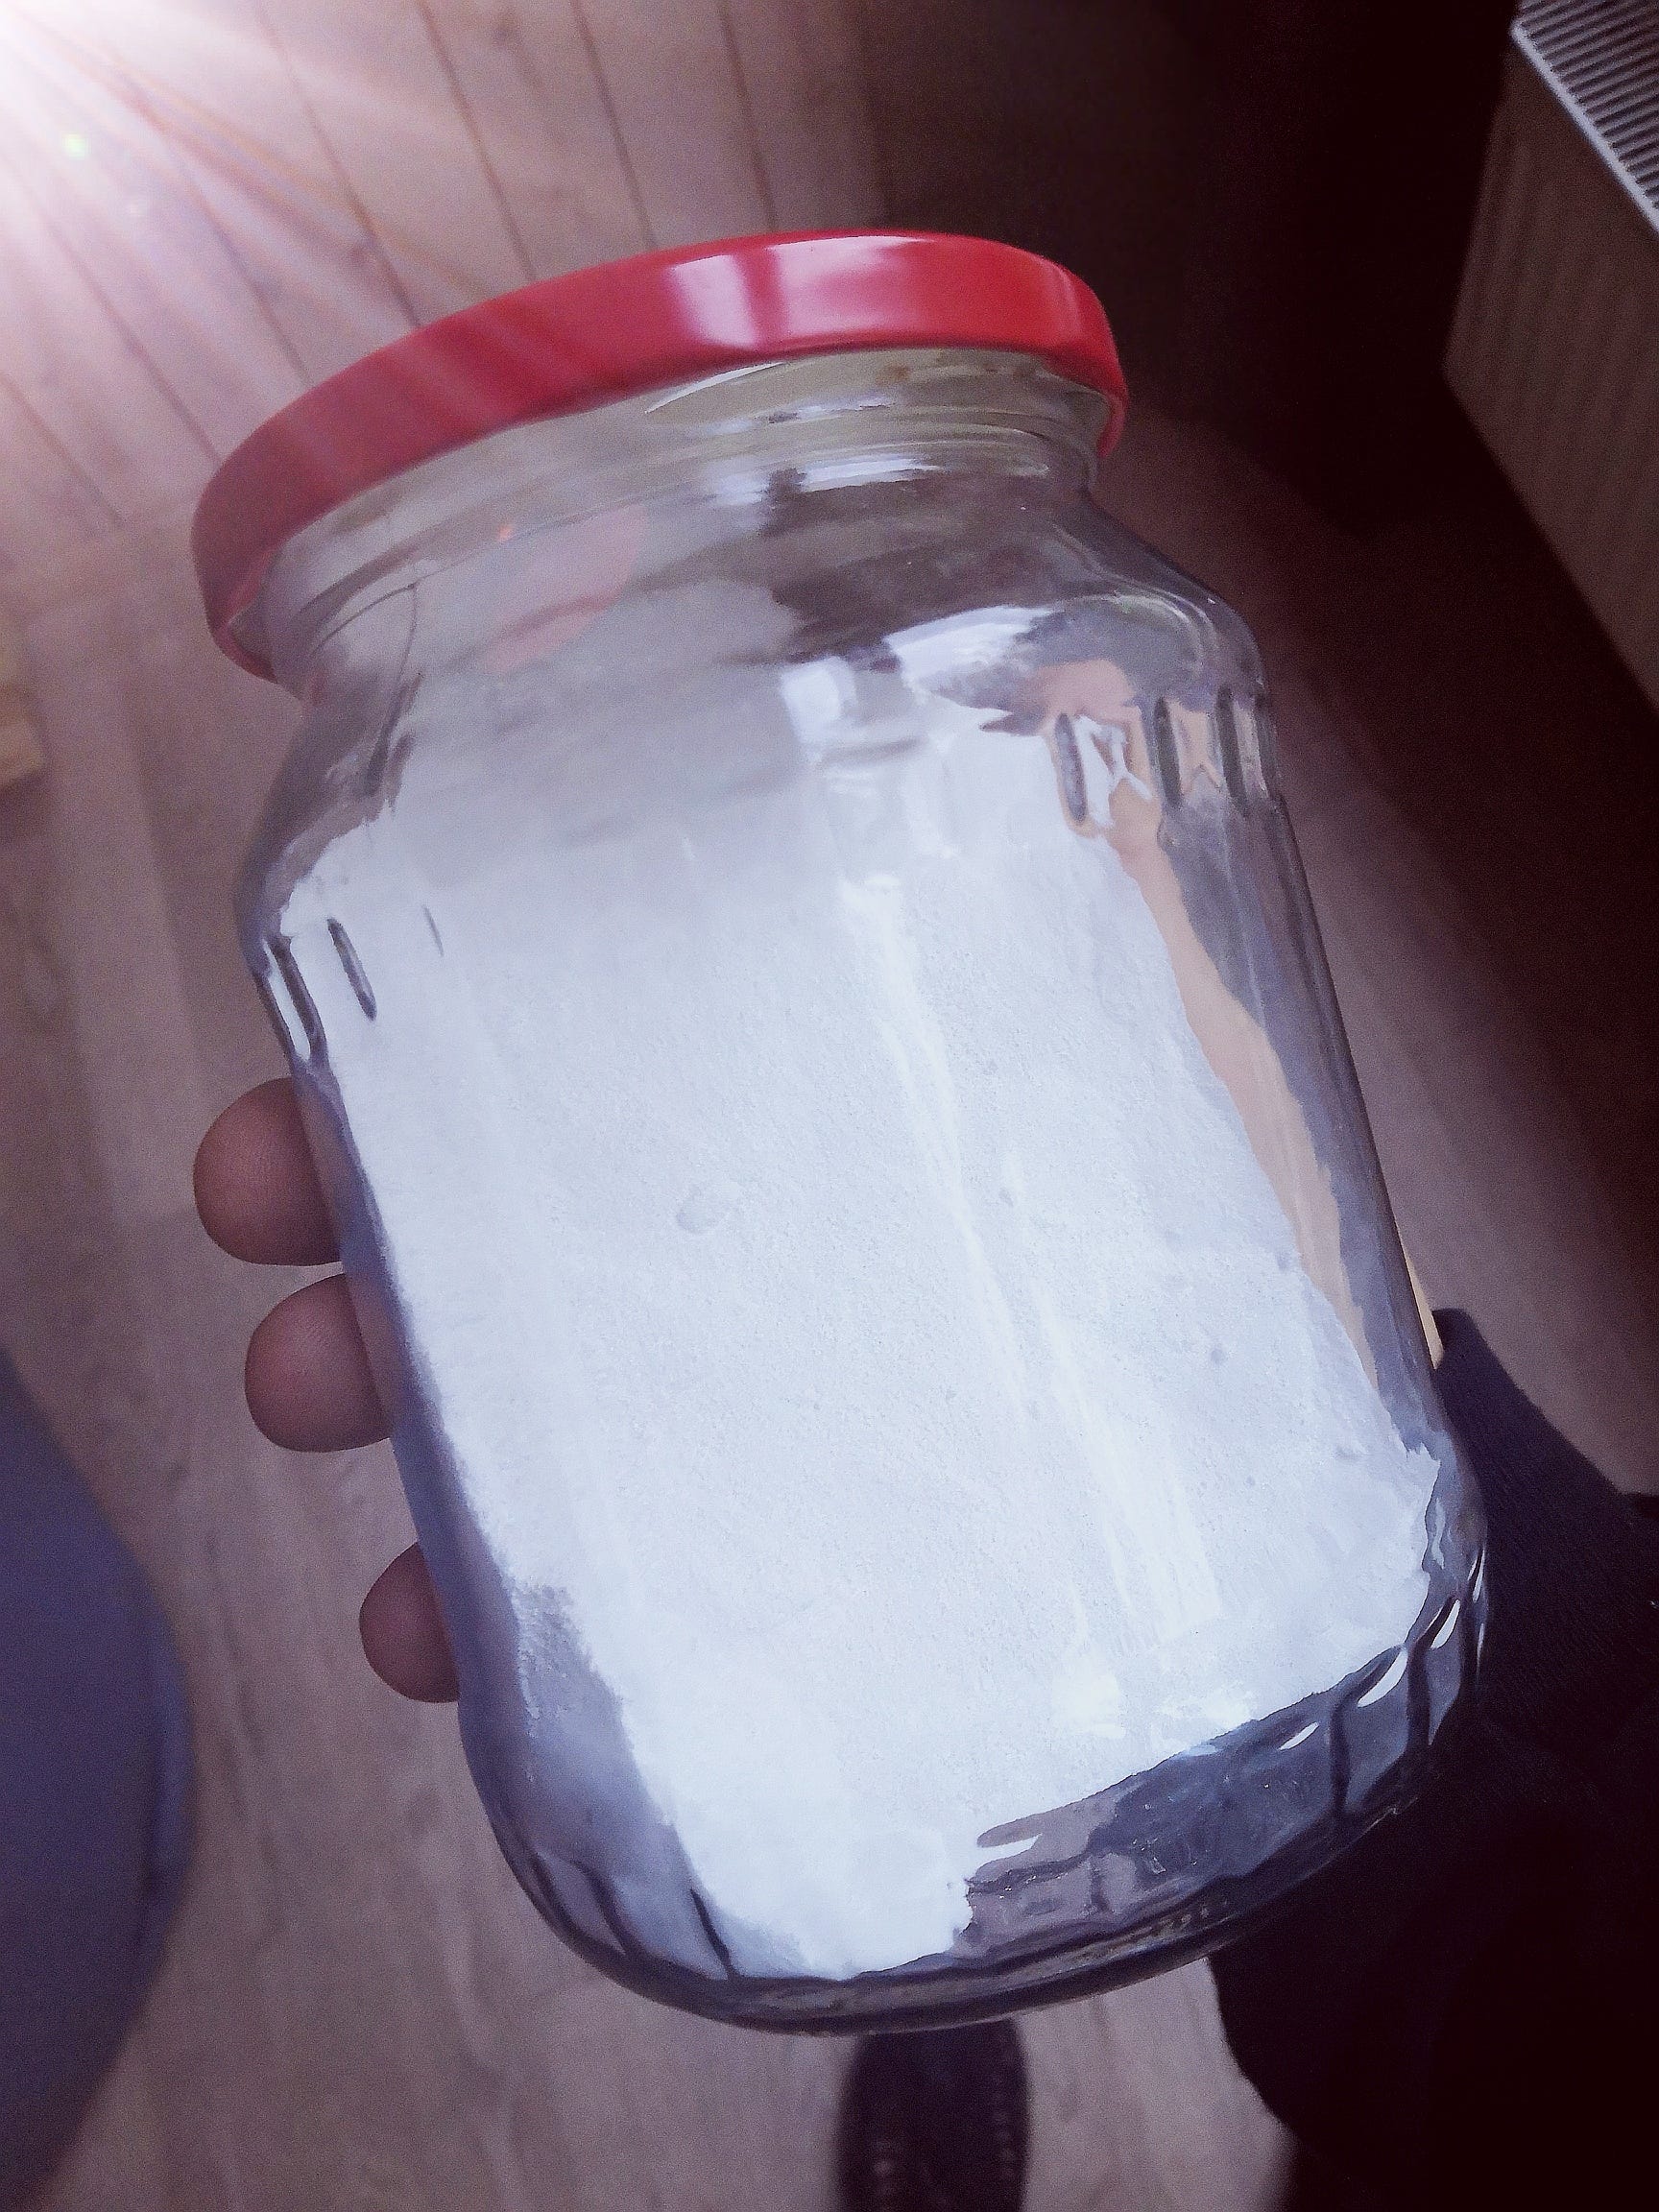
First of all I scoured my materials, some old pillowcases donated by Kotryna, curator at Rupert, which is where you soak and agitate in washing soda to remove any perfumes, chemicals or dirt. I made washing soda from bicarb of soda (aka sodium bicarbonate): spread it out on a flat oven (parchment optional) and baked on 200C for an hour to evaporate water and carbon dioxide to leave sodium carbonate. Once dry and cool I stored in a dry jar and can also use for washing my clothes, dishes, floors.
To scour, cover fabric in below-boiling water in a non-cooking vessel, add a tablespoon of soda for every 5 litres water (roughly, no big deal), then scrub textiles against each other and leave to cool overnight, stirring a few times. Rinse well, discard the water. hang to dry. Wash your hands well, too.
———————
Time to go picking for blackberry - gloves, scissors and a bucket or basket are suggested - look for young shoots and leaves rather than old and cripsy lads. Snip 6-12 inches off thenew growth, this has the highest concentration of tannins for the weight. Expert May suggested measuring but I’m not as patient or good at maths. I just got a heap that weighed about the same as a dry tshirt (130g) as was aiming for a 50% bath for 2 pillowcases.

I snipped them up small, added them to a non-cooking pan with enough water to eventually submerged the fabric in, then brought to a boil and turned right down to simmer for 2 hours, lid on.

Once this has finished, you might remove the plant matter but I left it in overnight, then strained and reheated in the morning with fabrics in. Another 2 hours simmering for the blackberry mordant bath, in this time you can go and scavenge some materials!
High priority - rose petals, berries, rusty screws and pennies, yellow flowers, cones
Supporting material - bark, leaves, roots, biro notes, grass, floor dust, silk

Once the mordant bath has finished, remove from the heat and let them cool naturally by a window. Do not rinse, simply wring out gently once cool. If you can’t dye straight away, at this point wrap the damp garms up in a plastic bag and store in the fridge(!) for up to a week. I think you can re-use your mordant so bottle it if you can.
Next lay out the textiles on a concrete surface, scatter your broken up materials uponeth. You’re looking for “60% coverage” according to a website I looked at once, but that is so abstract I think you just need to see more debris than not. Arrange so you have a nice diversity of materials laying face-down. Then bash the crap out of the toppings with your hammer. Obviously if you got berries don’t wear your wedding dress.
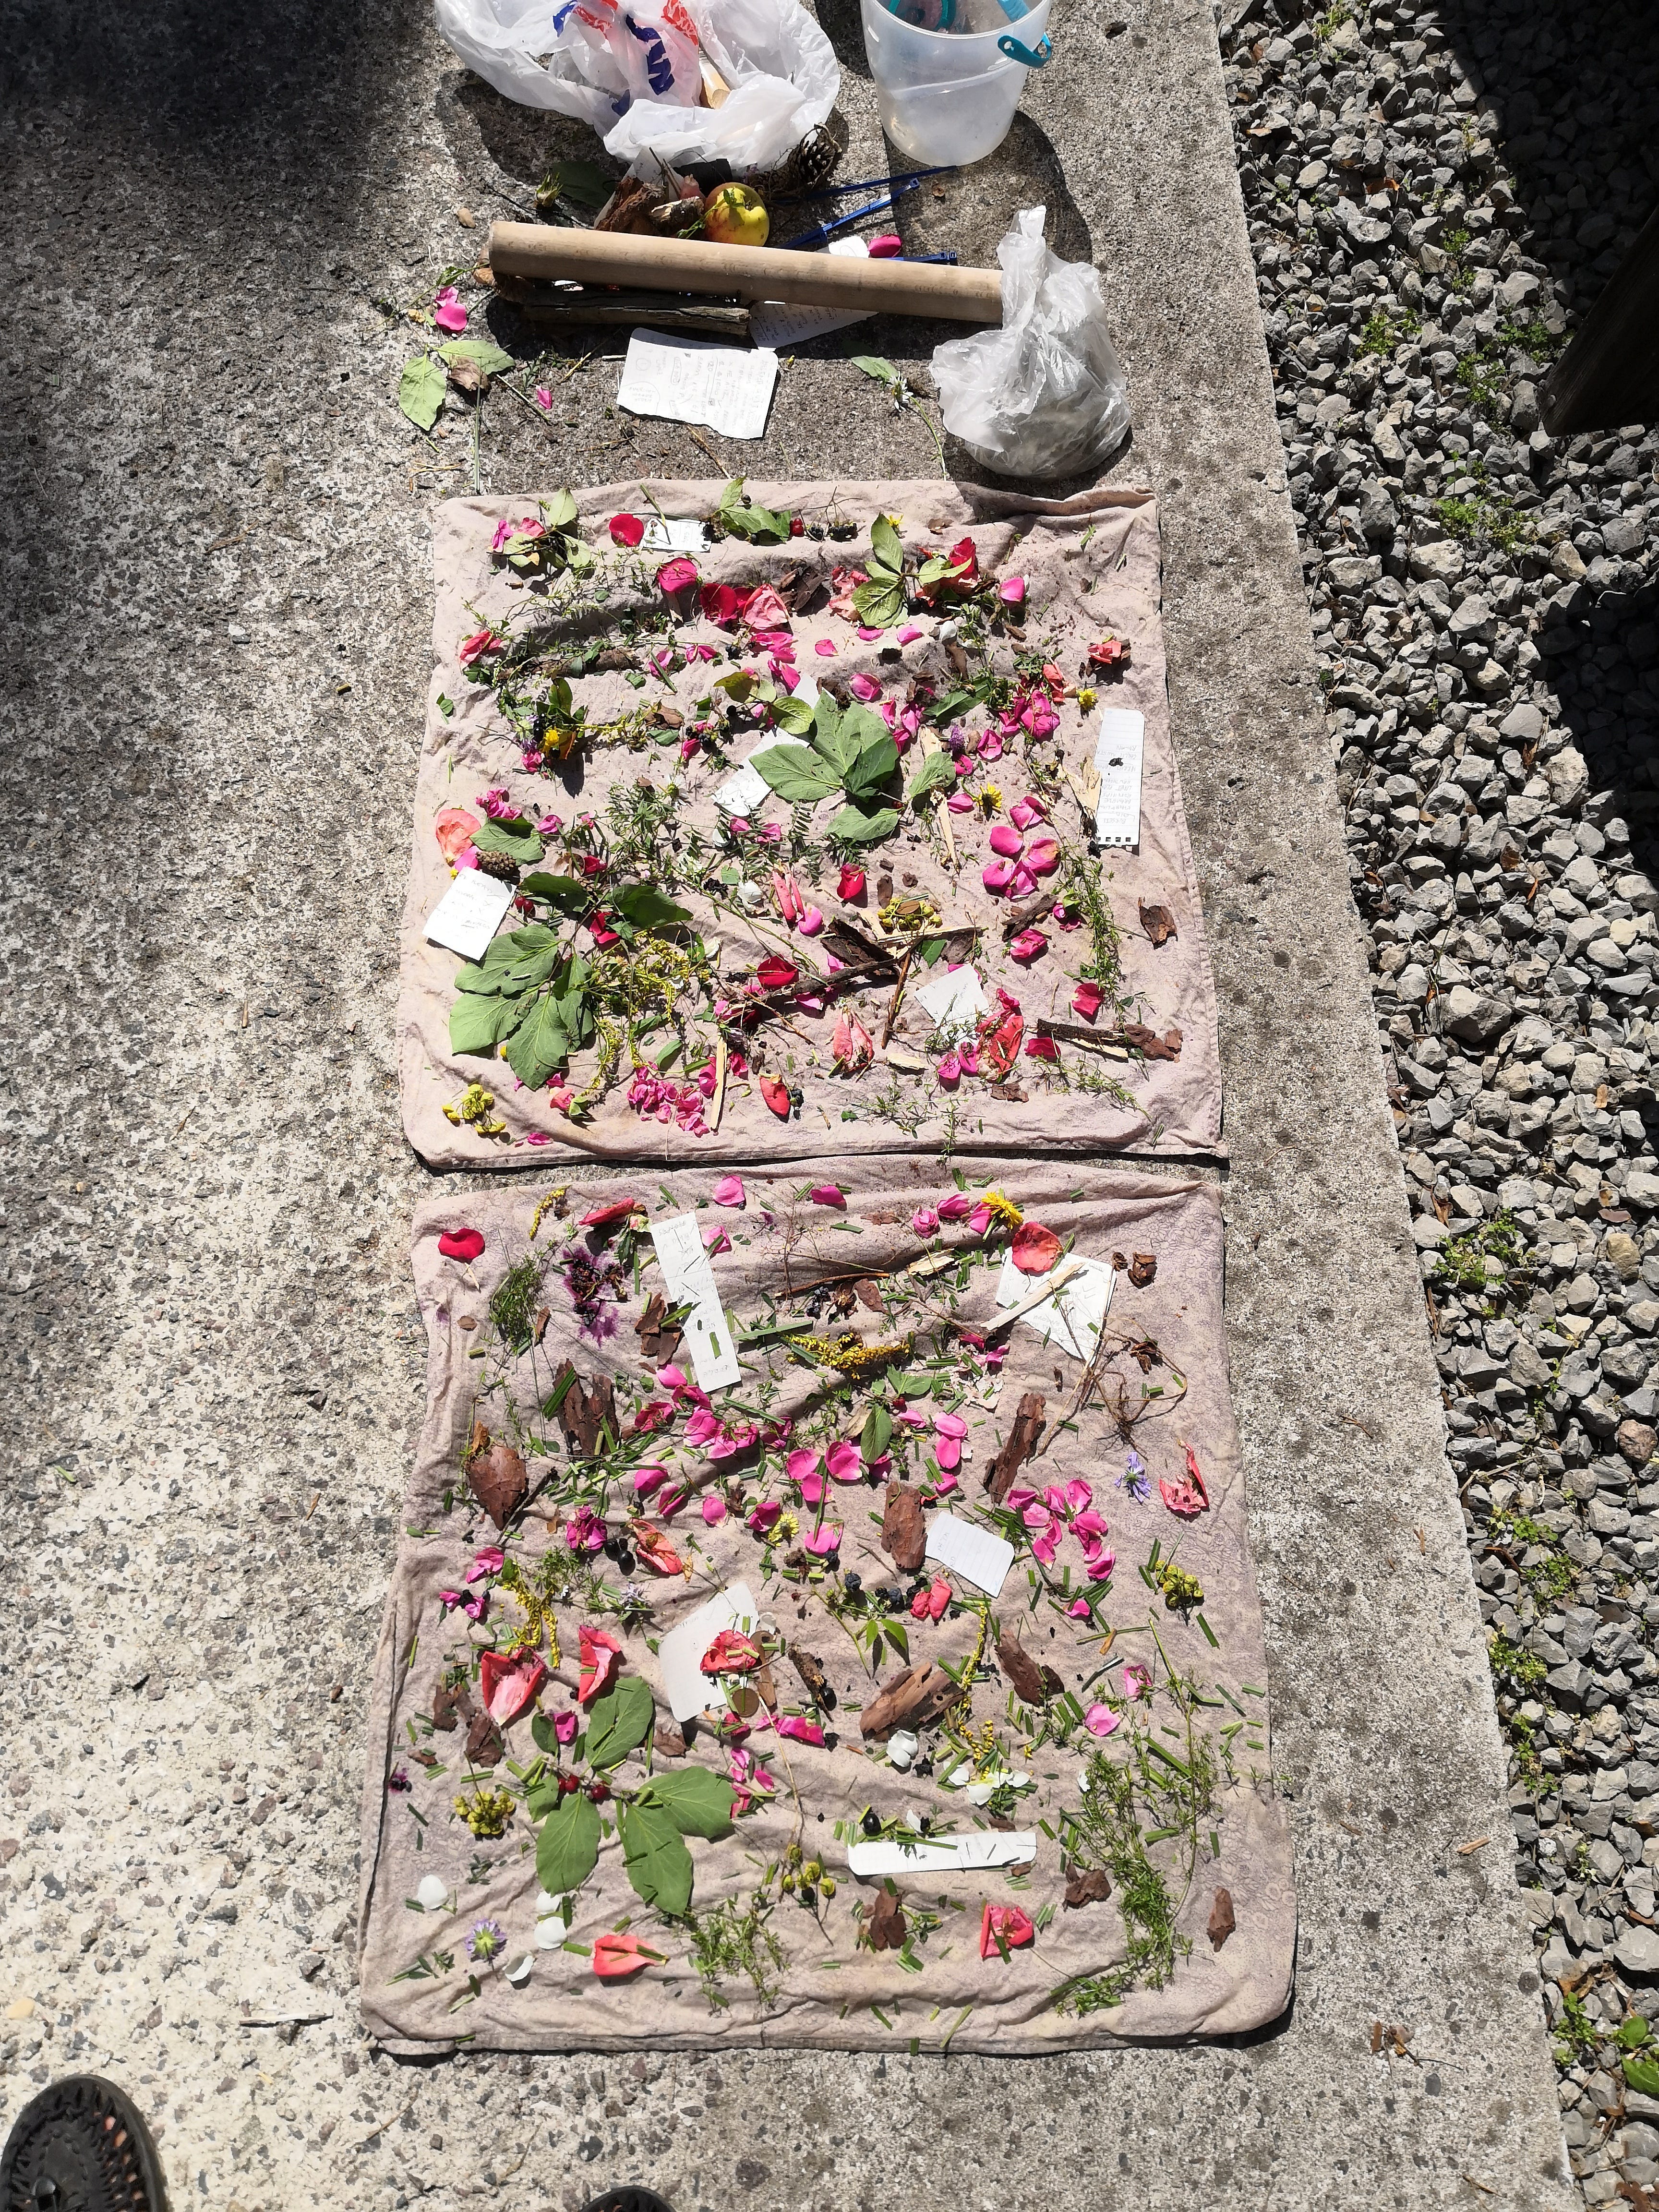
Once you’re happy, grab some grass and snip snip over the top like sprinkles, then start rolling up tightly like a fatty - you want really good contact between materials and textile.

At this point you could wrap it longways with twine, old shoelace, cable ties, or just go straight to bundling. You will notice I’ve gone for the traditional bratwurst style, but the zig-zag and paperclip are also fan favourites. While wrapping up, add further gear to the outside for bonus points.

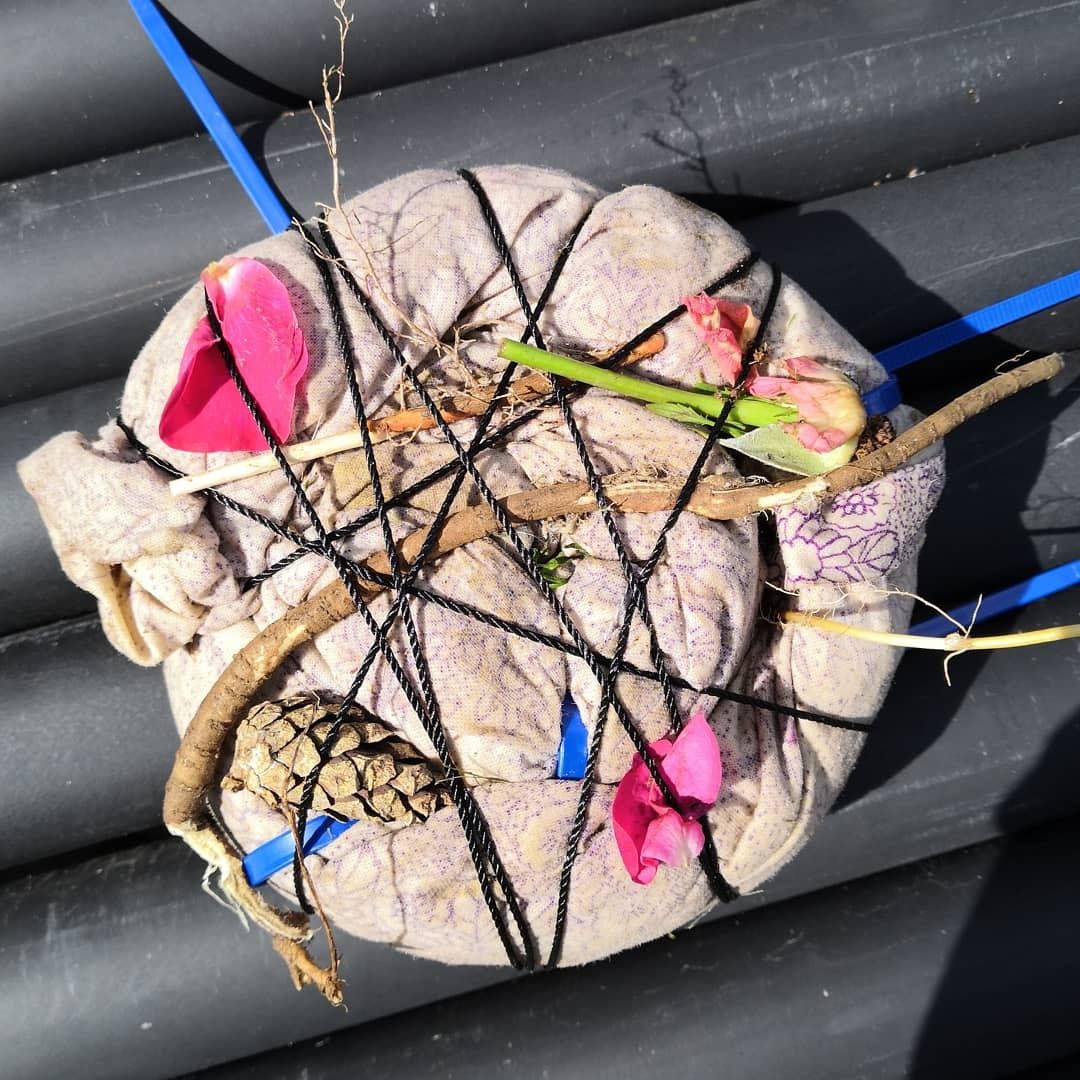
Stop for a second and bask in the glory of this accidental, temporary sculpture. I actually often prefer this to the finished piece - the form and weight are super-satisfying, but I also think about the potential this has as an in-between object.
—————
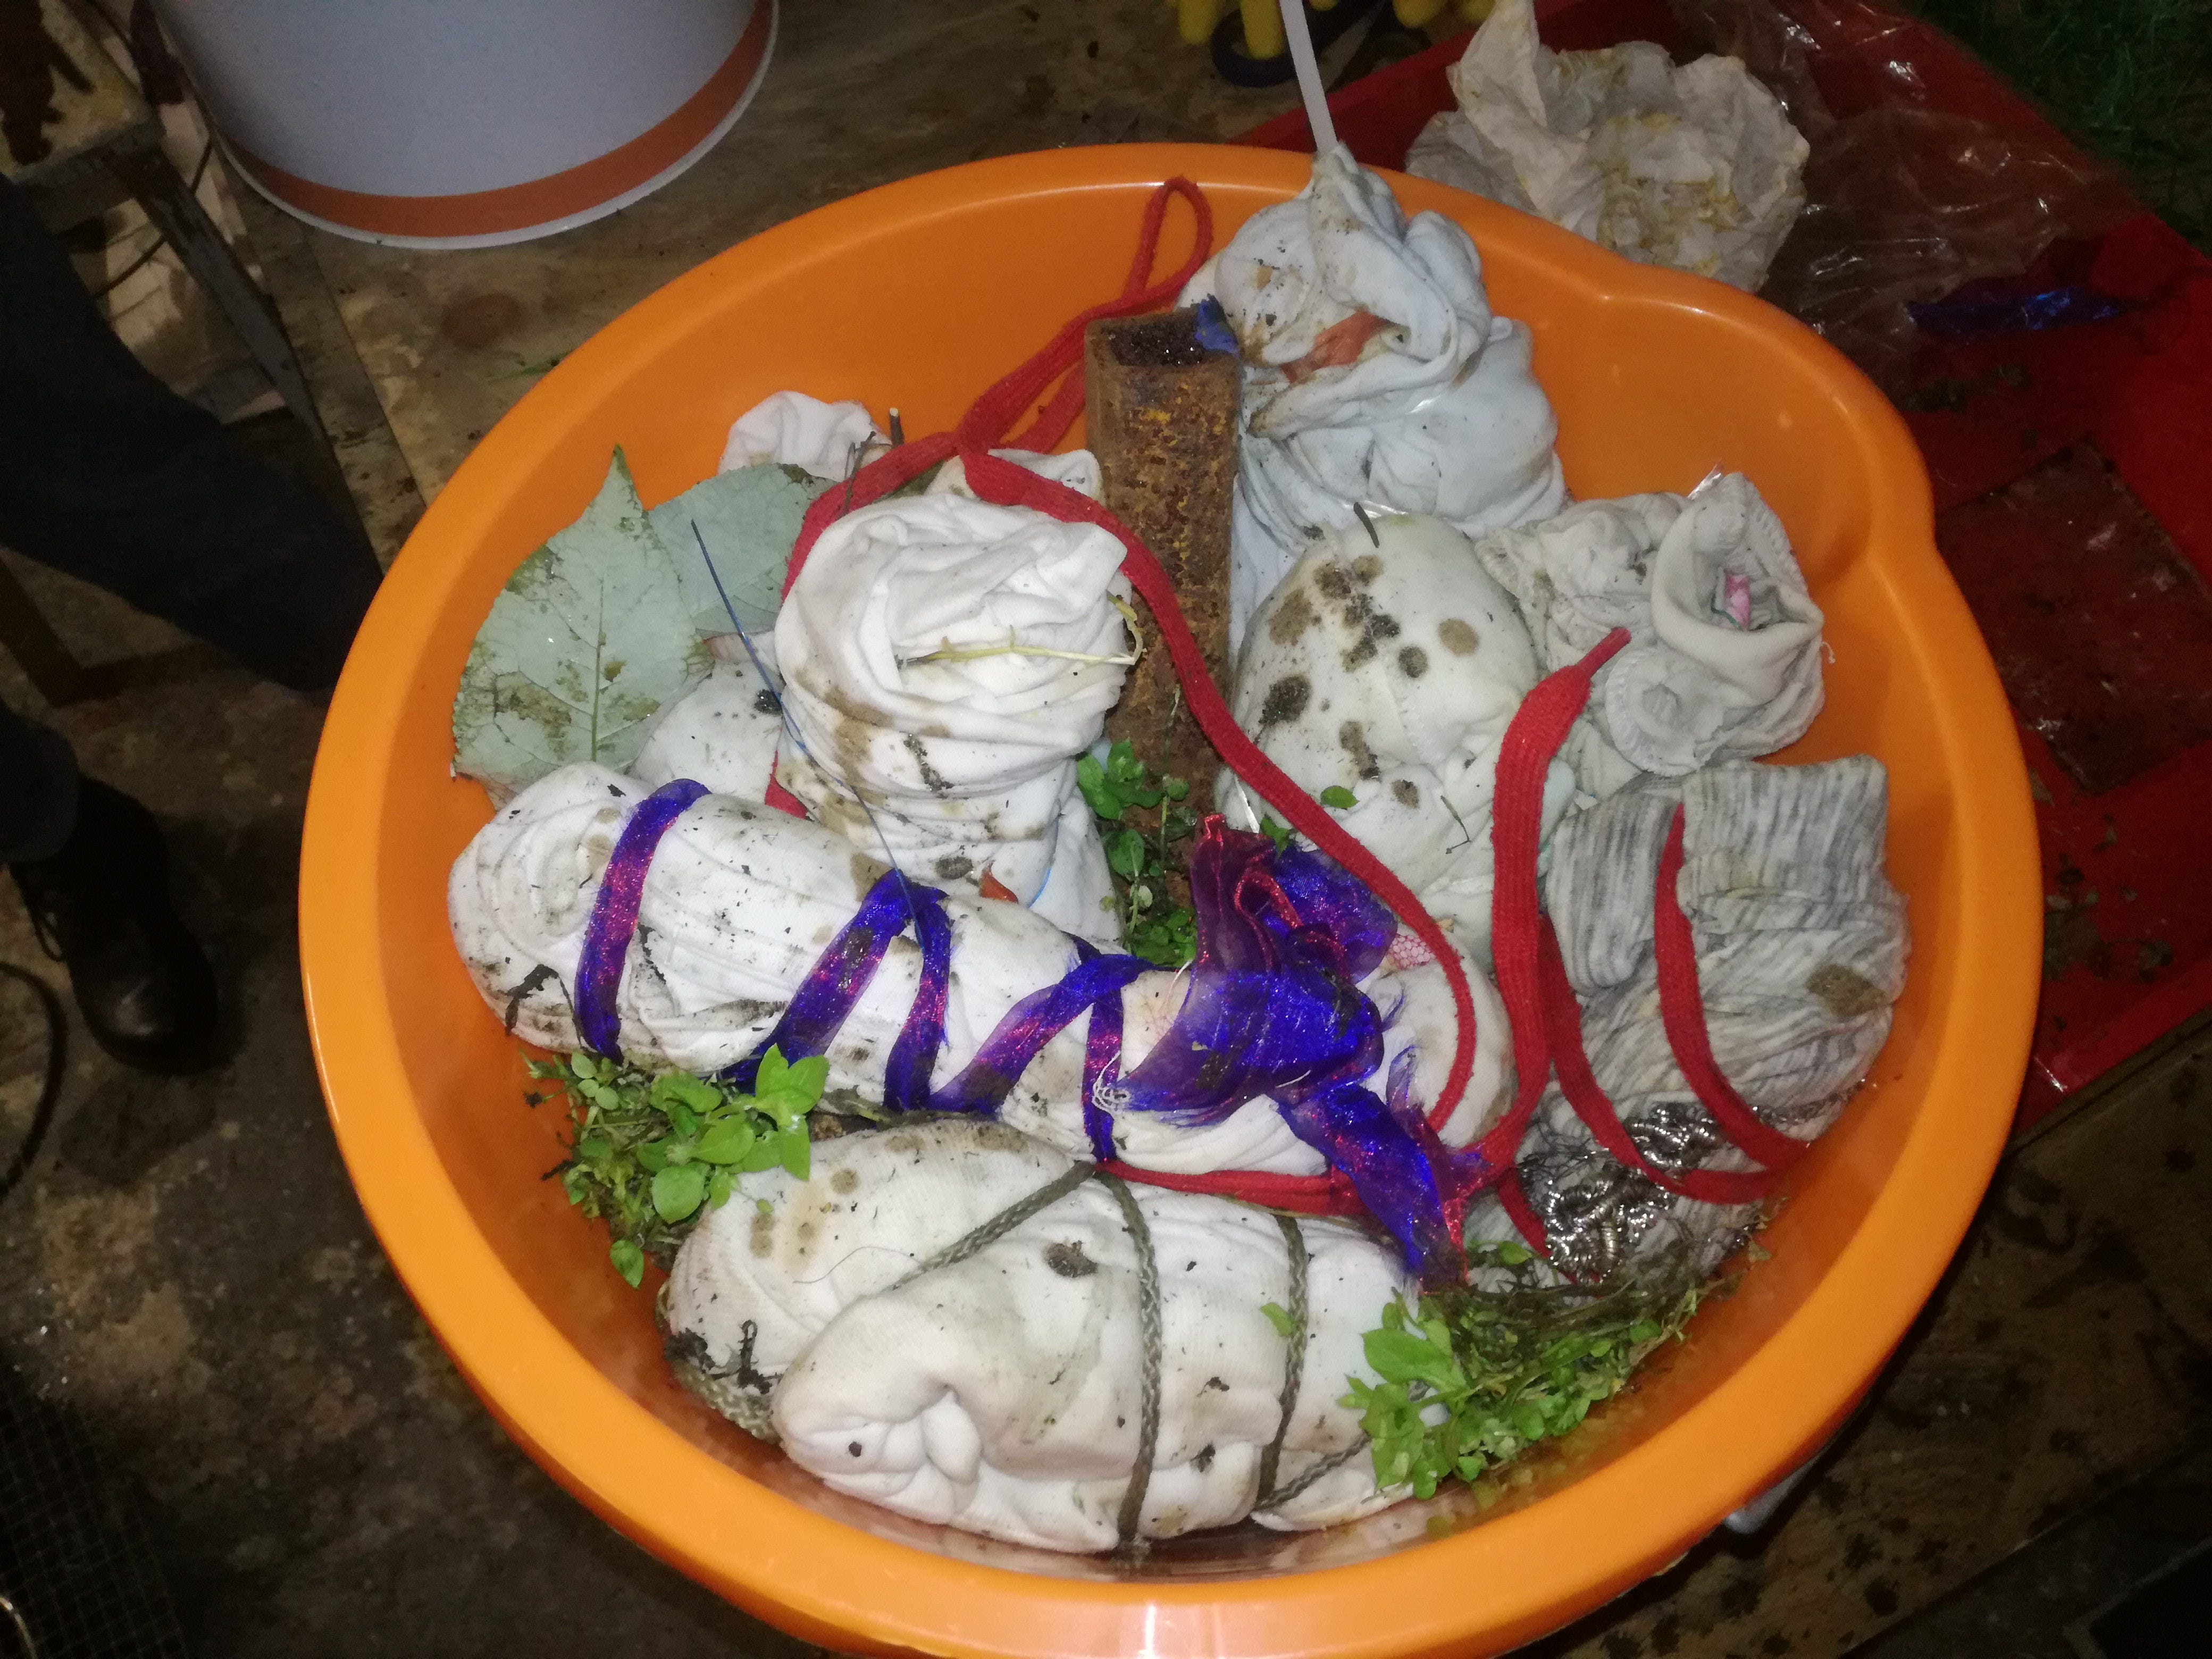
Relocate your non-cooking pot and set up the with some water and a steaming rack. This could be something that sits inside the pan like a canning stand (in which case make sure the water level is below it and find a lid), or on top like a wire cooling rack. If you are using the latter, you will have to style out with another pot on top, I’ve handily attached two photos of a total rago set-up from my studio last year.

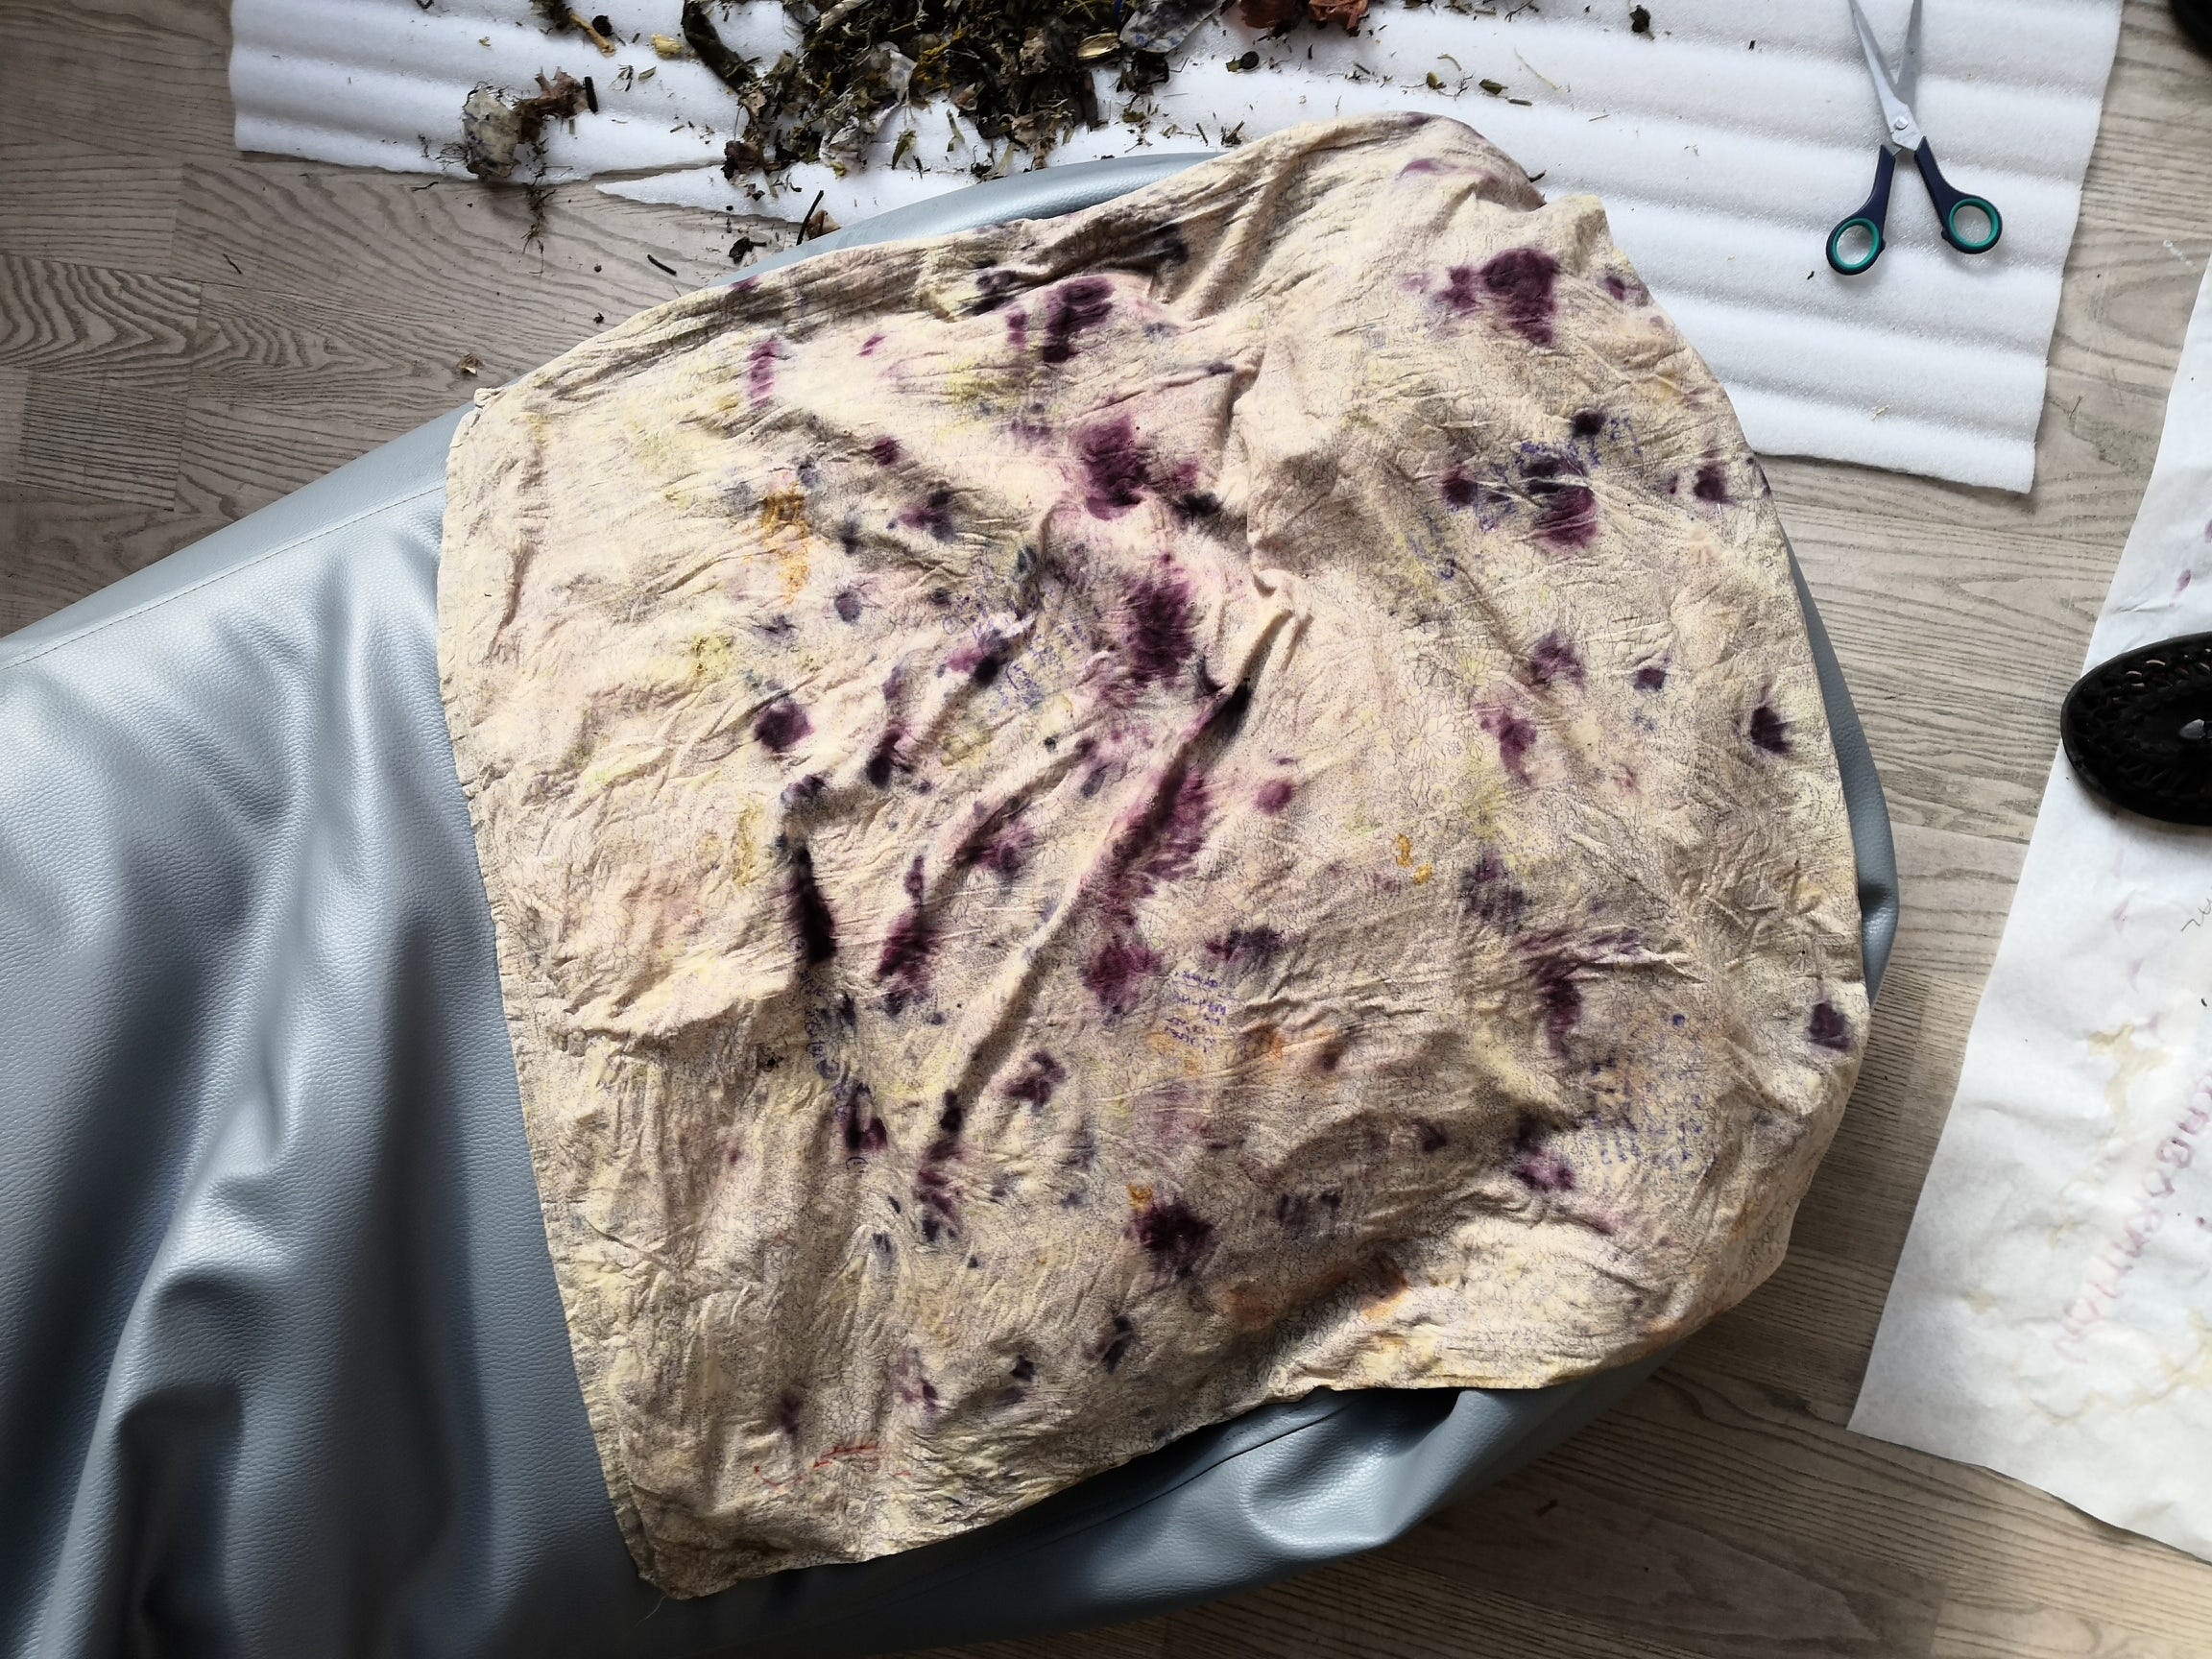
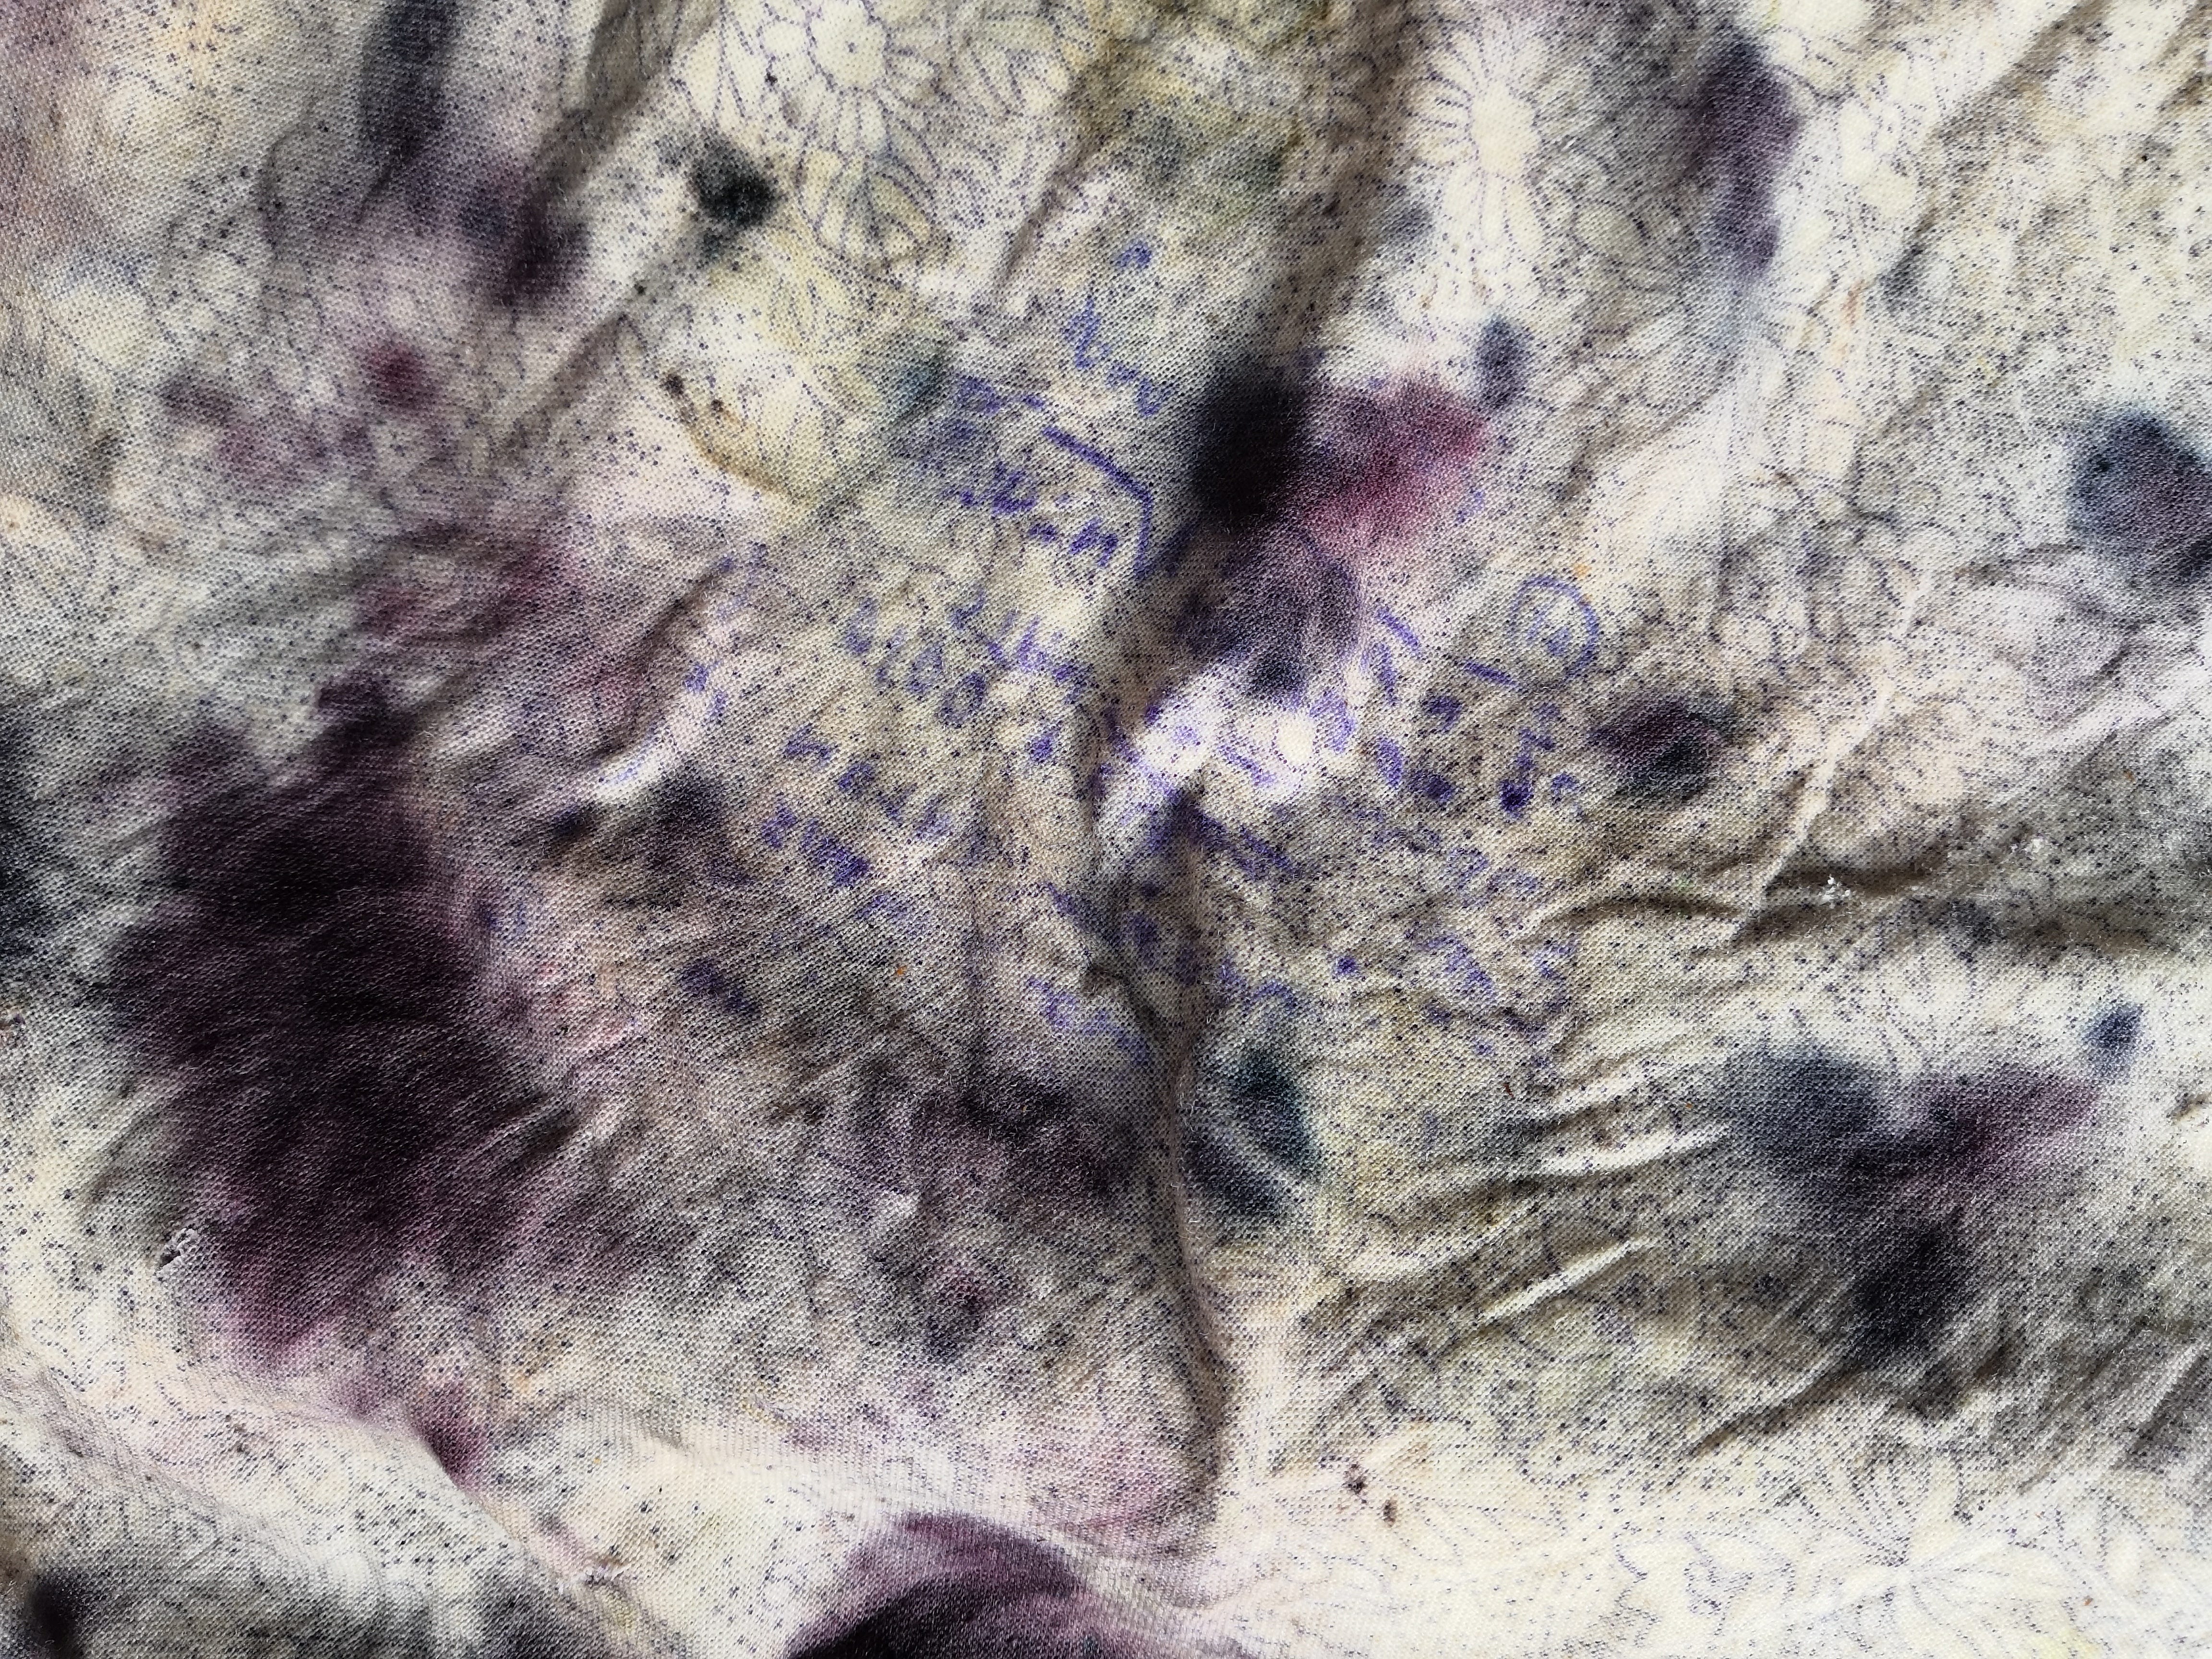
Bring water to the boil and steam for 2 hours total, flipping the bundles over once if you like. Once time’s up remove them and let them cool before you unwrap. Fetch a bowl of cold tap water and after snipping, unrolling, and shaking off the debris, give the fabrics a good rinse and hang to dry.
The dyes will stay in because of the mordant preparation you did with blackberry, but will naturally fade as expected. I like to hand-wash or warm machine-wash no higher than 30C. You can always dye again, as many times as you like.
Well done, you smashed it. Hope you enjoy experimenting with local ingredients in this slow, decarbonised activity :)